
- Nov 8, 2024
Step-by-Step Guide to Making and Canning Pear Butter: Essential Tips Included
- Erin Oberlander
- Rewilding, Modern Homesteading
- 0 comments
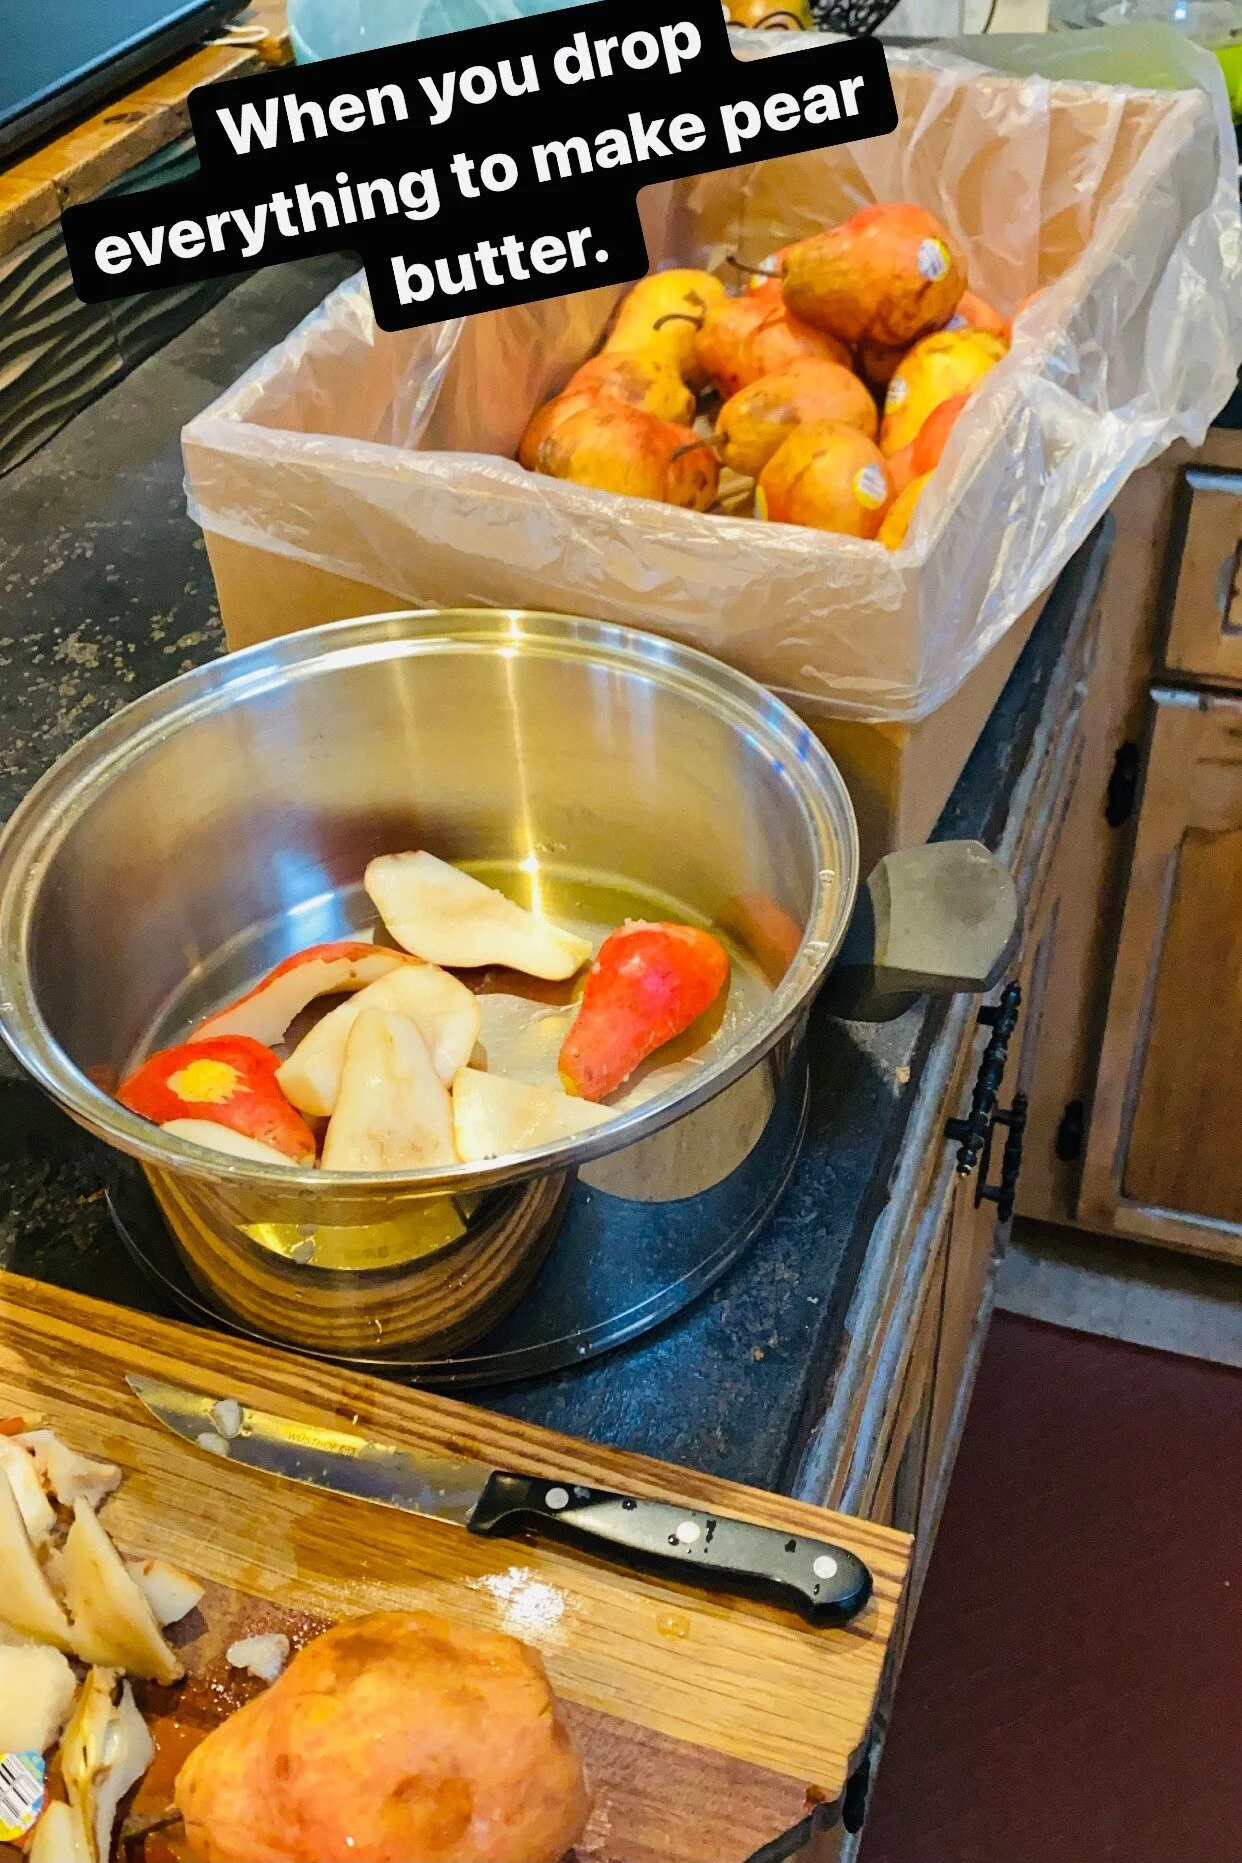
Pear butter, in my mind, is a “luxury item” in the world of preserving. I don’t always have access to great pears in large quantities, so when I do, I try to take advantage of it, as they don’t keep long in the fridge.
It’s fall, and the abundance of apple, pear, and nut harvest are in full swing. Yesterday, I ended up dropping everything to make what I am now calling “Emergency Pear Butter.” You see, a week or two ago, I bought a beautiful case of organic pears from a local food co-op. Because I could not fit them all in my refrigerator, I stored them in the coldest room in my basement.
Yesterday I went down to the basement for some other purpose, and the scent of ripe apples and pears wafted strongly toward me. This reminded me I needed to sort through all the bins of fruit to throw out anything rotten. Well, there were some rotten apples, but the pears were still pristine. Perfect. In every way. And almost ripe.
So, I grabbed the case of pears, and I brought them upstairs to remind myself that sometime this week I would like to make pear butter.
I then proceeded to record three podcasts. And in the time it took to record said podcasts, these beautiful pears started liquefying. I truly do not understand how or why it was happening, but every time I walked by the case of pears while I was working, they looked worse and worse. Browning. Moldy. Rotting. It seemed to start to happen in an instant.
Finally when I had thrown away the fifth rotten pear in as many hours, I decided to quit all other plans for the day and get to canning before I lost my whole case.
So here is how to make Pear Butter, along with some mistakes to avoid.
1) Get pears.
The pears should be ripe, and they can even be slightly on the over-ripe side. What you want to avoid is anything truly rotten or moldy. Put those in your compost.
2) Wash the pears, core them, and cut them into fourths.
Then in they go into your cooking pot. Note: I did not skin the pears. I hate skinning any fruit when I am canning. It is often a waste of food material as well as time. This is why I love a good food mill.
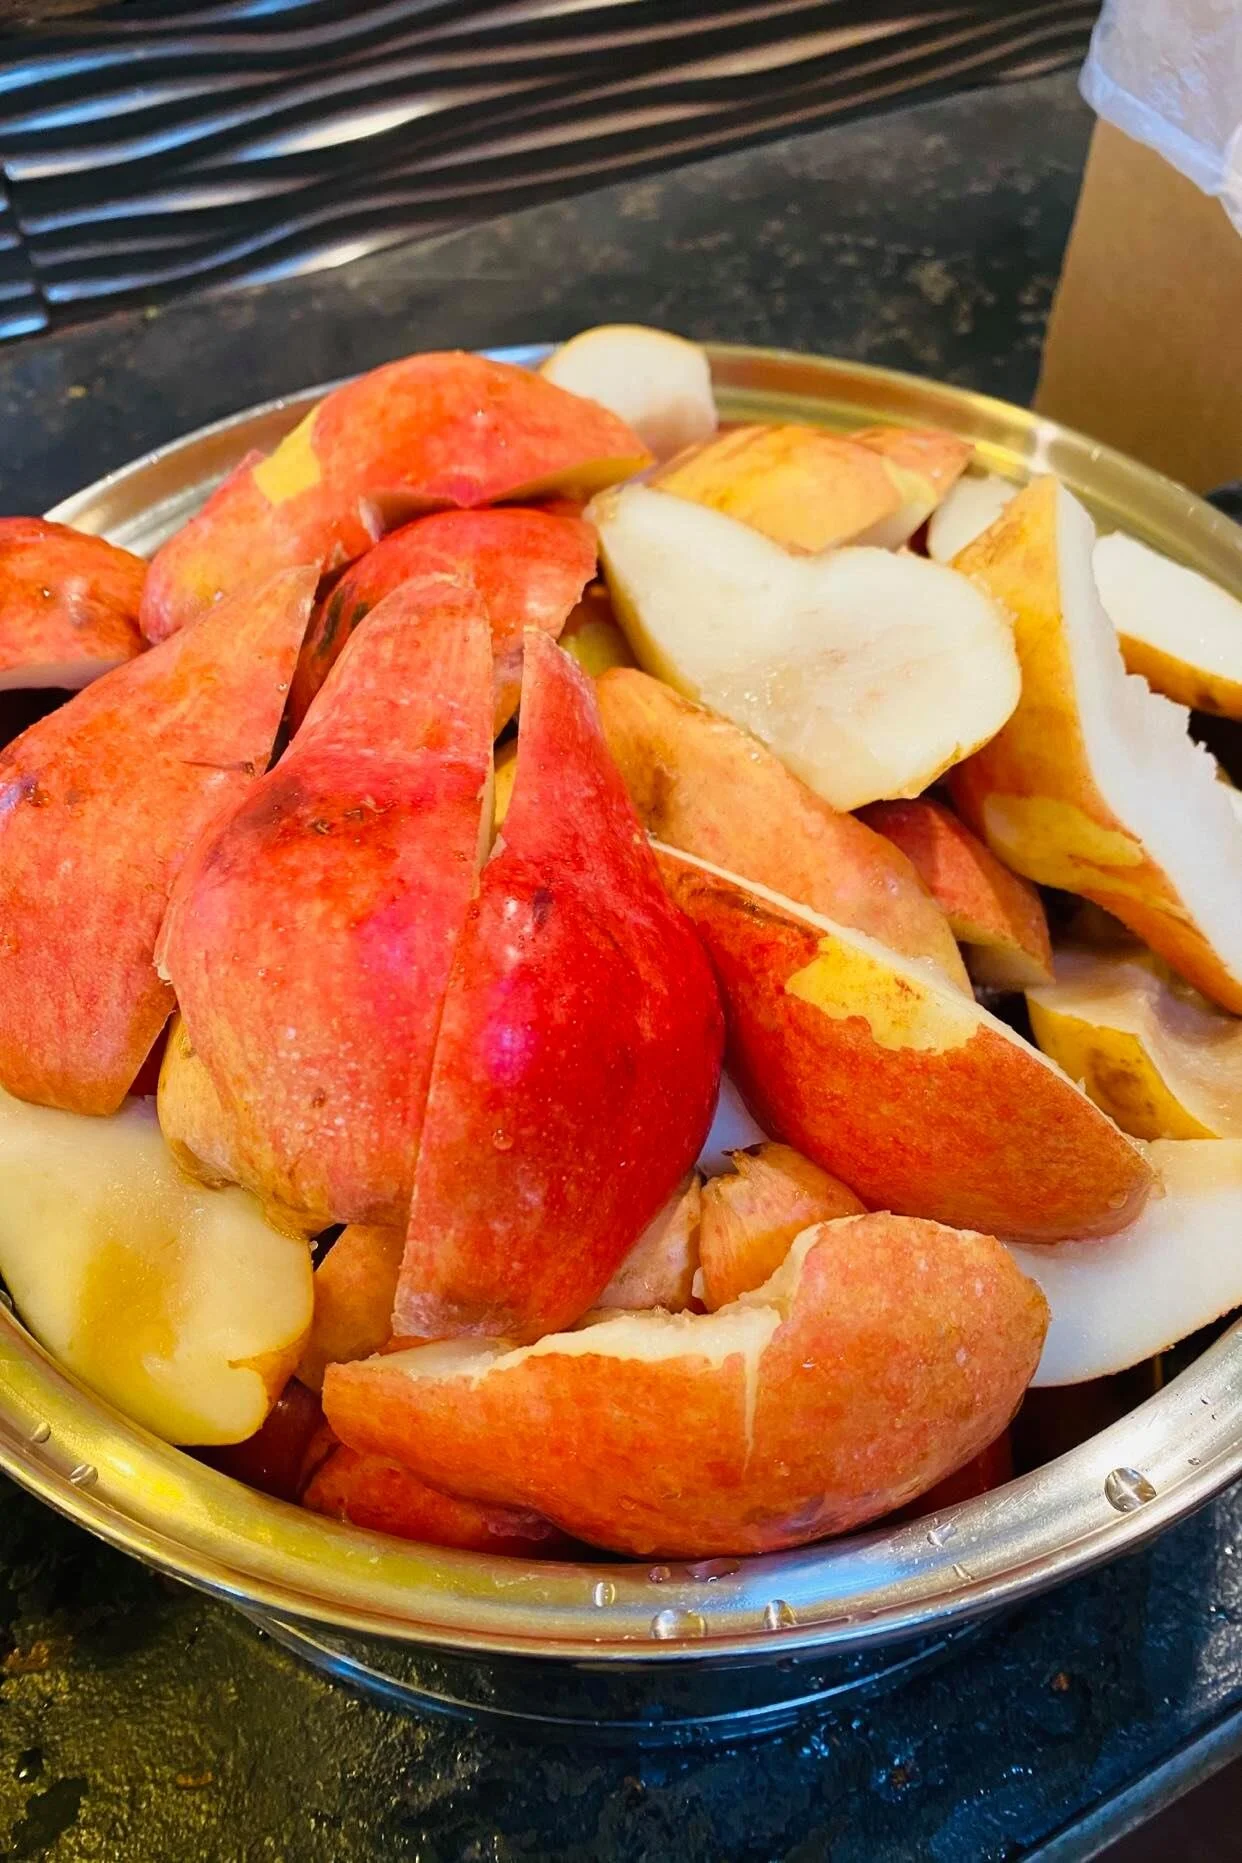
My recipe called for 20 pears which almost overflowed my cooking pot. But I knew that after a few minutes they would reduce in volume significantly, and you can see from the next photo that they did.
3) Next you are going to cook the pears down until they can easily be put through a sieve or food mill.
For me, this took several hours on medium-high heat. I would recommend adding a little water to your cooking pot to prevent scorching until the pears begin to cook down and produce their own liquid. It also helps to keep a lid on your pot.
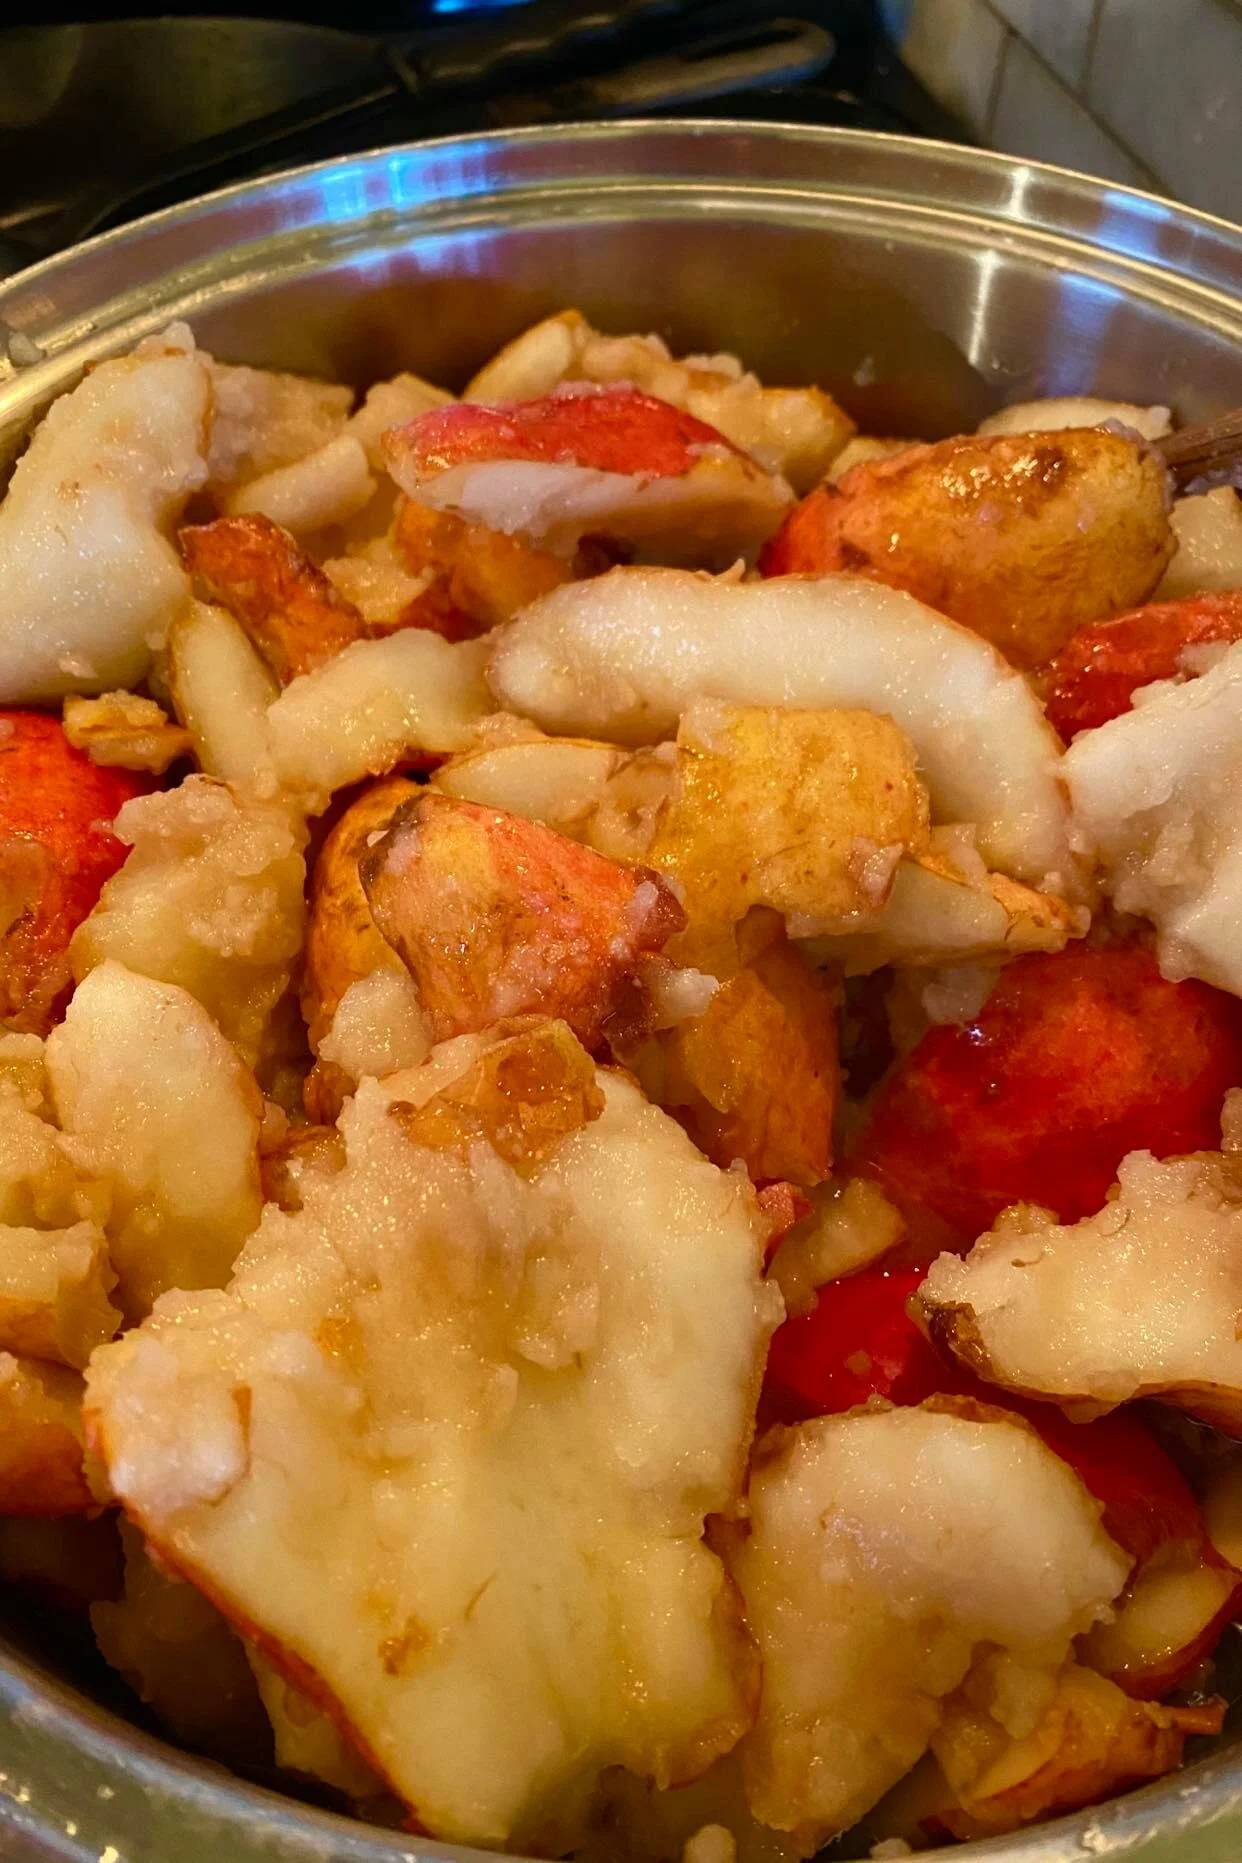
Pears cook down fairly easily and take a lot less time than some of the other fruit you may choose to can.
I have provided three photos here that show you how the pears look as they cook down as well as the consistency you are looking for right before you strain them to remove the skins.
Tip! If you are planning on using your dishwasher to sterilize your canning jars, this is a good time to get those going.
4) While the pears are cooking, you can prepare for the next steps.
I set up my sieve and a bowl. I also started collecting the rest of my cooking apparatuses for canning. This includes filling my water bath with hot water and getting it on medium high heat on the stove. This also includes finding lids, seals, and rings, canning funnel, tongs, etc. I like to get my lids and seals in a smaller pot with water, adding my canning funnel and tongs, and boil all of that.
Tip! Turn off your water once your lids have boiled. They are now sterile, and to boil them longer will cause damage to the lids and seals in many cases.
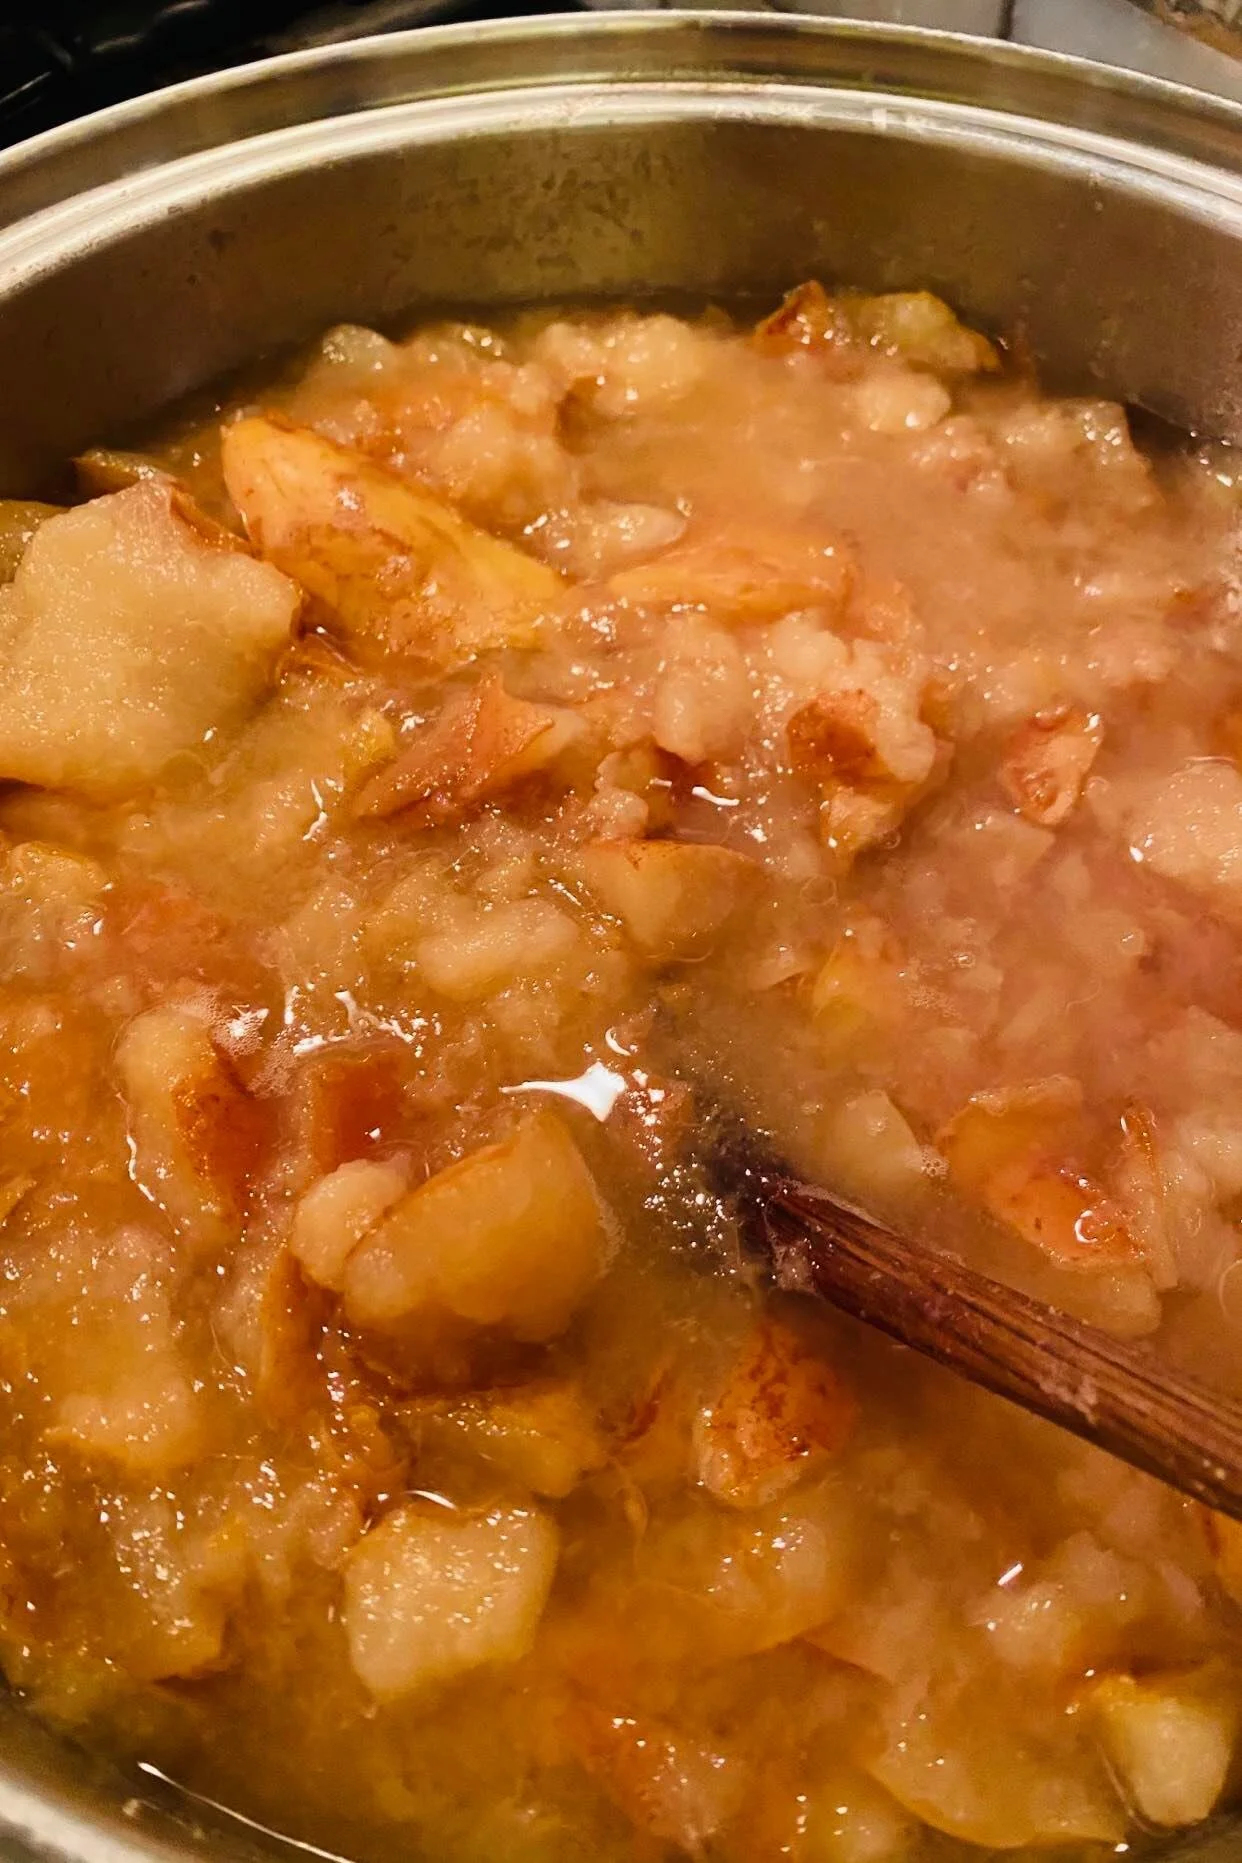
These pears have cooked down to the point where I can easily mash them with a wooden spoon in the pot. This is when you know it is time to send them through your sieve or food mill to remove the peels.
5) Once the pears have reached the proper consistency, remove them from the heat and let them cool a bit.
Here is where I made a mistake. Not really a mistake, in the sense that it was a wrong choice, but a mistake in the sense that there was a faster, easier option. I had seen on other blogs that folks were putting their cooked pears through a metal sieve, working them through to strain the skins and end up with the liquid to finish out into pear butter.
I tried this.
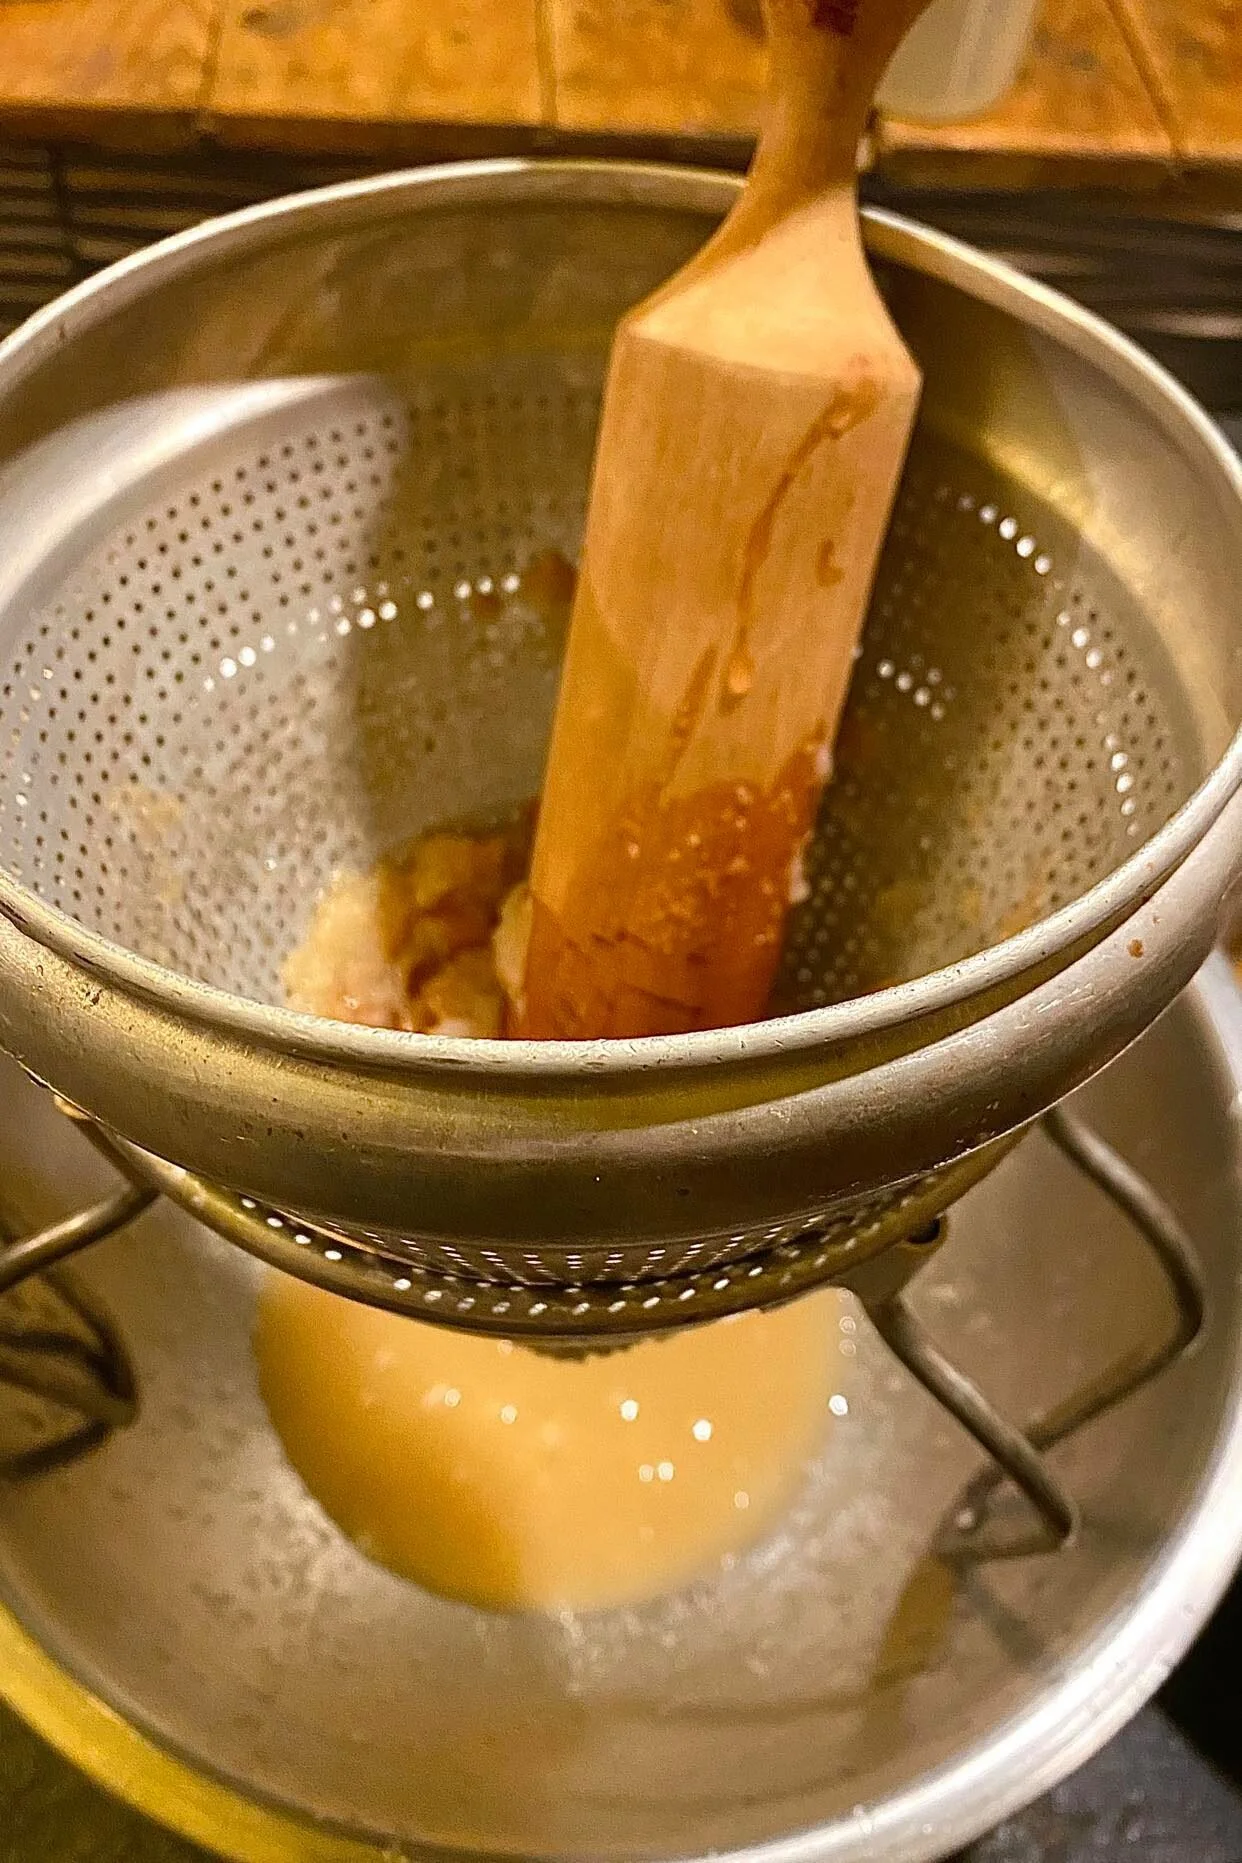
This sieve seemed like it might work well for this project…but it did NOT. Live and learn. Don’t be afraid to experiment and find out what works for you.
I quickly decided against this course of action. It was taking forever to work the pears through the sieve, taking a lot of energy I did not have at 9 pm, and also removing a lot of the fibrous material I DID want to reserve for the pear butter itself to help it to stay thick.
So, next I set up my food mill. I have talked about the food mill, or as it is sometimes known, a Squeezo. It is a magical, magical kitchen tool vital to making canning simple and easy.
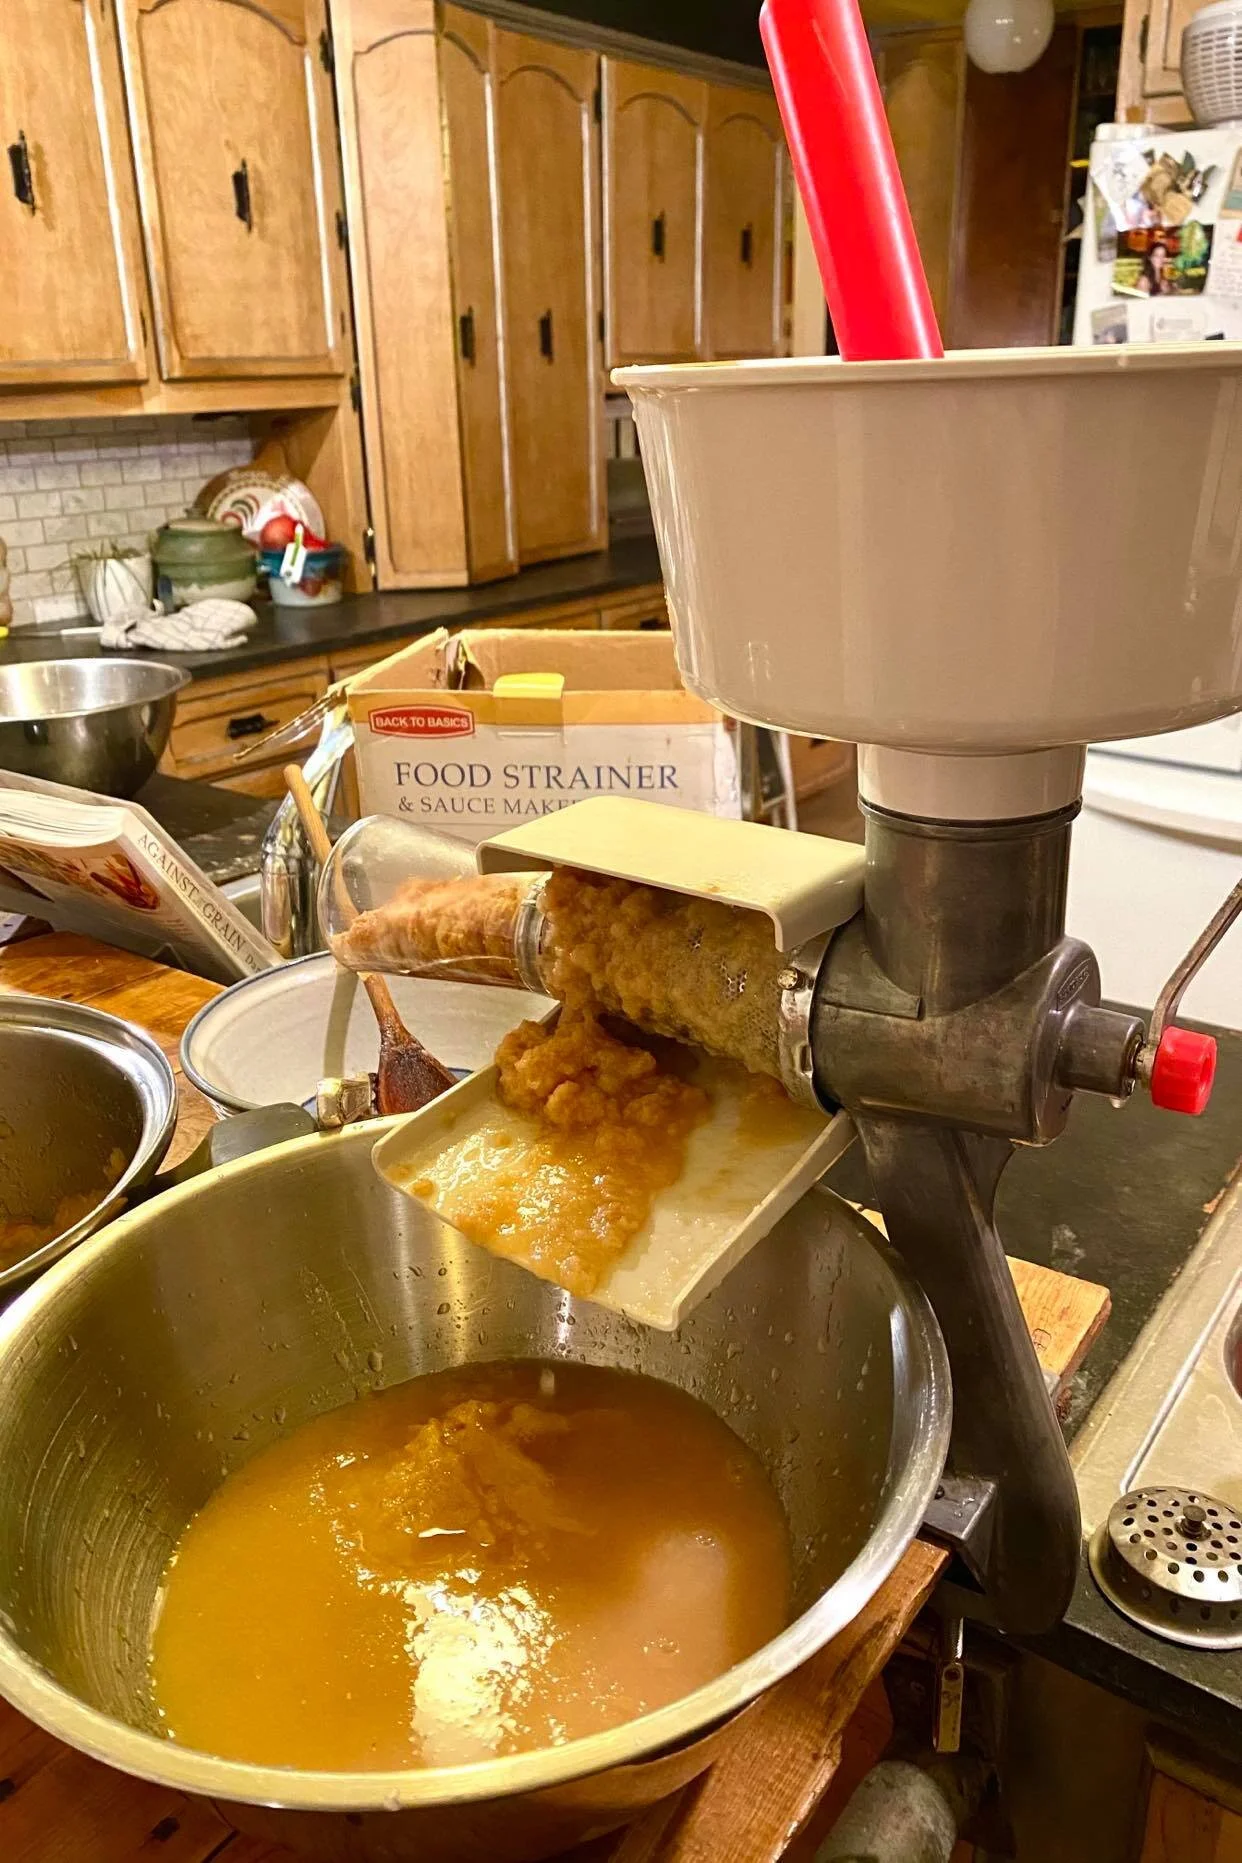
Yay for the food mill!!! This thing makes my life so much better and saves me so much time for each canning project that I do.
You can see from the photo how I set up my system. The cooked pears go into the top of the funnel, the handle turns to move them through a sieve where the good stuff is pushed out towards you, and where the gross stuff goes out a smaller opening to the side.
The texture and thickness of the future pear butter was far superior with the food mill versus the sieve.
6) Once all the cooked pears were through the food mill, I put that liquid back into the original pot and back on the stove on medium heat.
7) This is where you will add your additional ingredients depending on what recipe you are using.
Tip! It is very, very important to use proper canning safety when canning any food. My mom and I did a vlog about this subject. (Or a podcast if you prefer.) For our purposes here, please note that many of the recipes you find on the internet have NOT been tested in a test kitchen for proper safety, cooking times, bacterial kills, etc. I never can anything from an untested recipe. Perhaps this sounds boring to you. Boring is better than botulism in my book, any day. If you find a recipe you simply must make that has not been tested, then freeze that pear butter instead.
I used the pear butter recipe from the Ball Blue Book of Canning. All of those recipes are tested, and I have never had one fail me in all of my years of canning.
So, I added my sugar and additional ingredients for my pear butter.
8) Now you cook the pear butter some more.
At this point you will want to watch your pear butter closely. You want to cook it enough that any thinner liquid (usually rising to the top), has thickened and the extra liquid has cooked off. At the same time you don’t want to cook the pear butter so long that it becomes dry and grainy (I have made this mistake, and it is tragic).
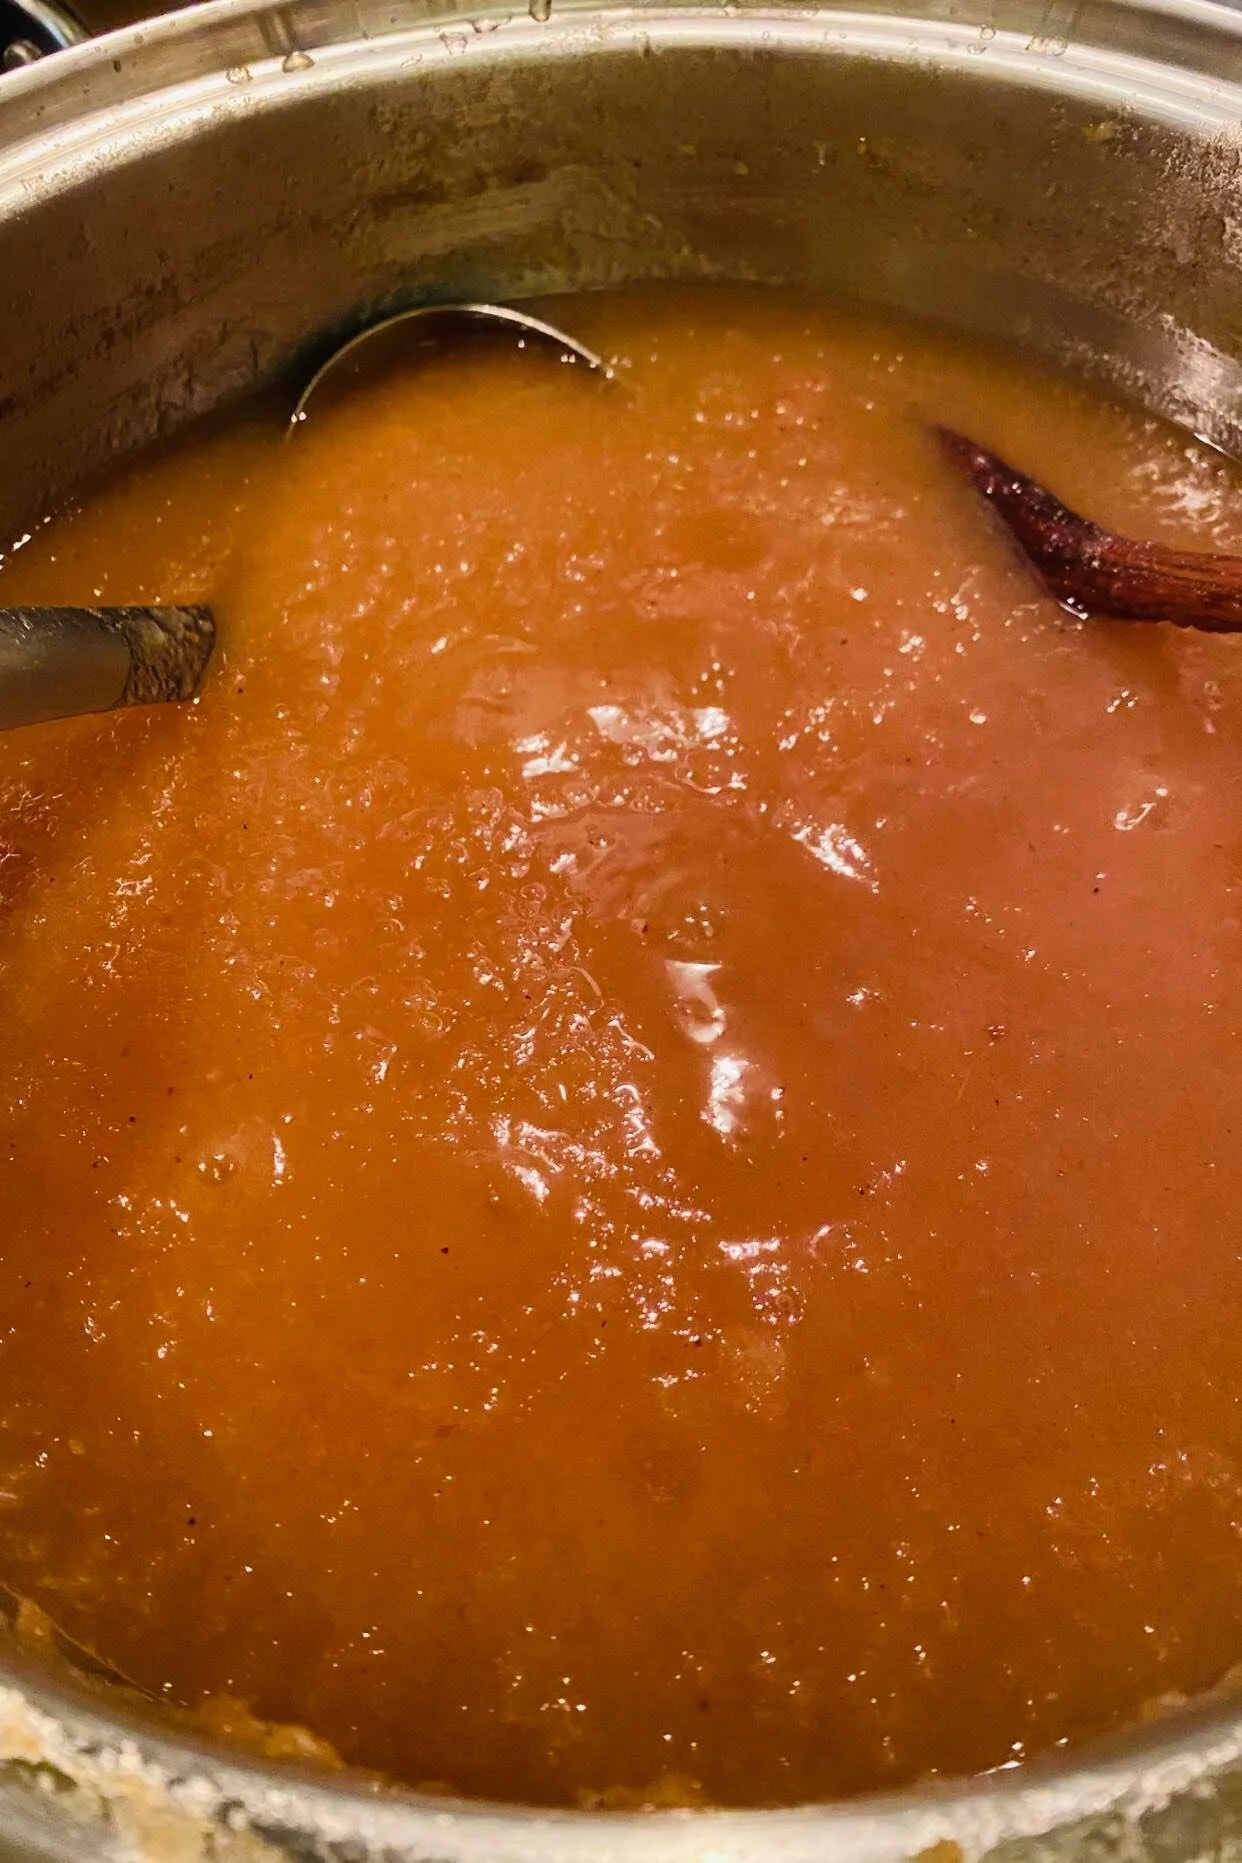
This pear butter is at just the right consistency. No more extra liquid, but not too dry either.
Tip! At this point you should have your water bath on high so it is ready to go. You should also have sterilized your lids and seals. I also use this time to get my canning area set up with all the rest of the things I will need—paper towel, lid grabber, and finding a place to let the jars rest when they come out of the canner.
9) Once your pear butter reaches the perfect consistency, it is time to jar it.
Please note that in the process of cooking it down, you need to let it boil.
Tip! All canning materials need to be HOT to avoid broken jars.
10) Put your pear butter into your jars, and follow the regular water bath canning process, using the processing time from your tested recipe, and always adding extra time according to your elevation.
11) Finally, out come your jars to their temporary home while they cool and their seals become stable.
YAY! You have finished the hard work of canning your pear butter, and you will have that complex, fruity, spicy, vibrant food to enjoy all through the dead of winter.
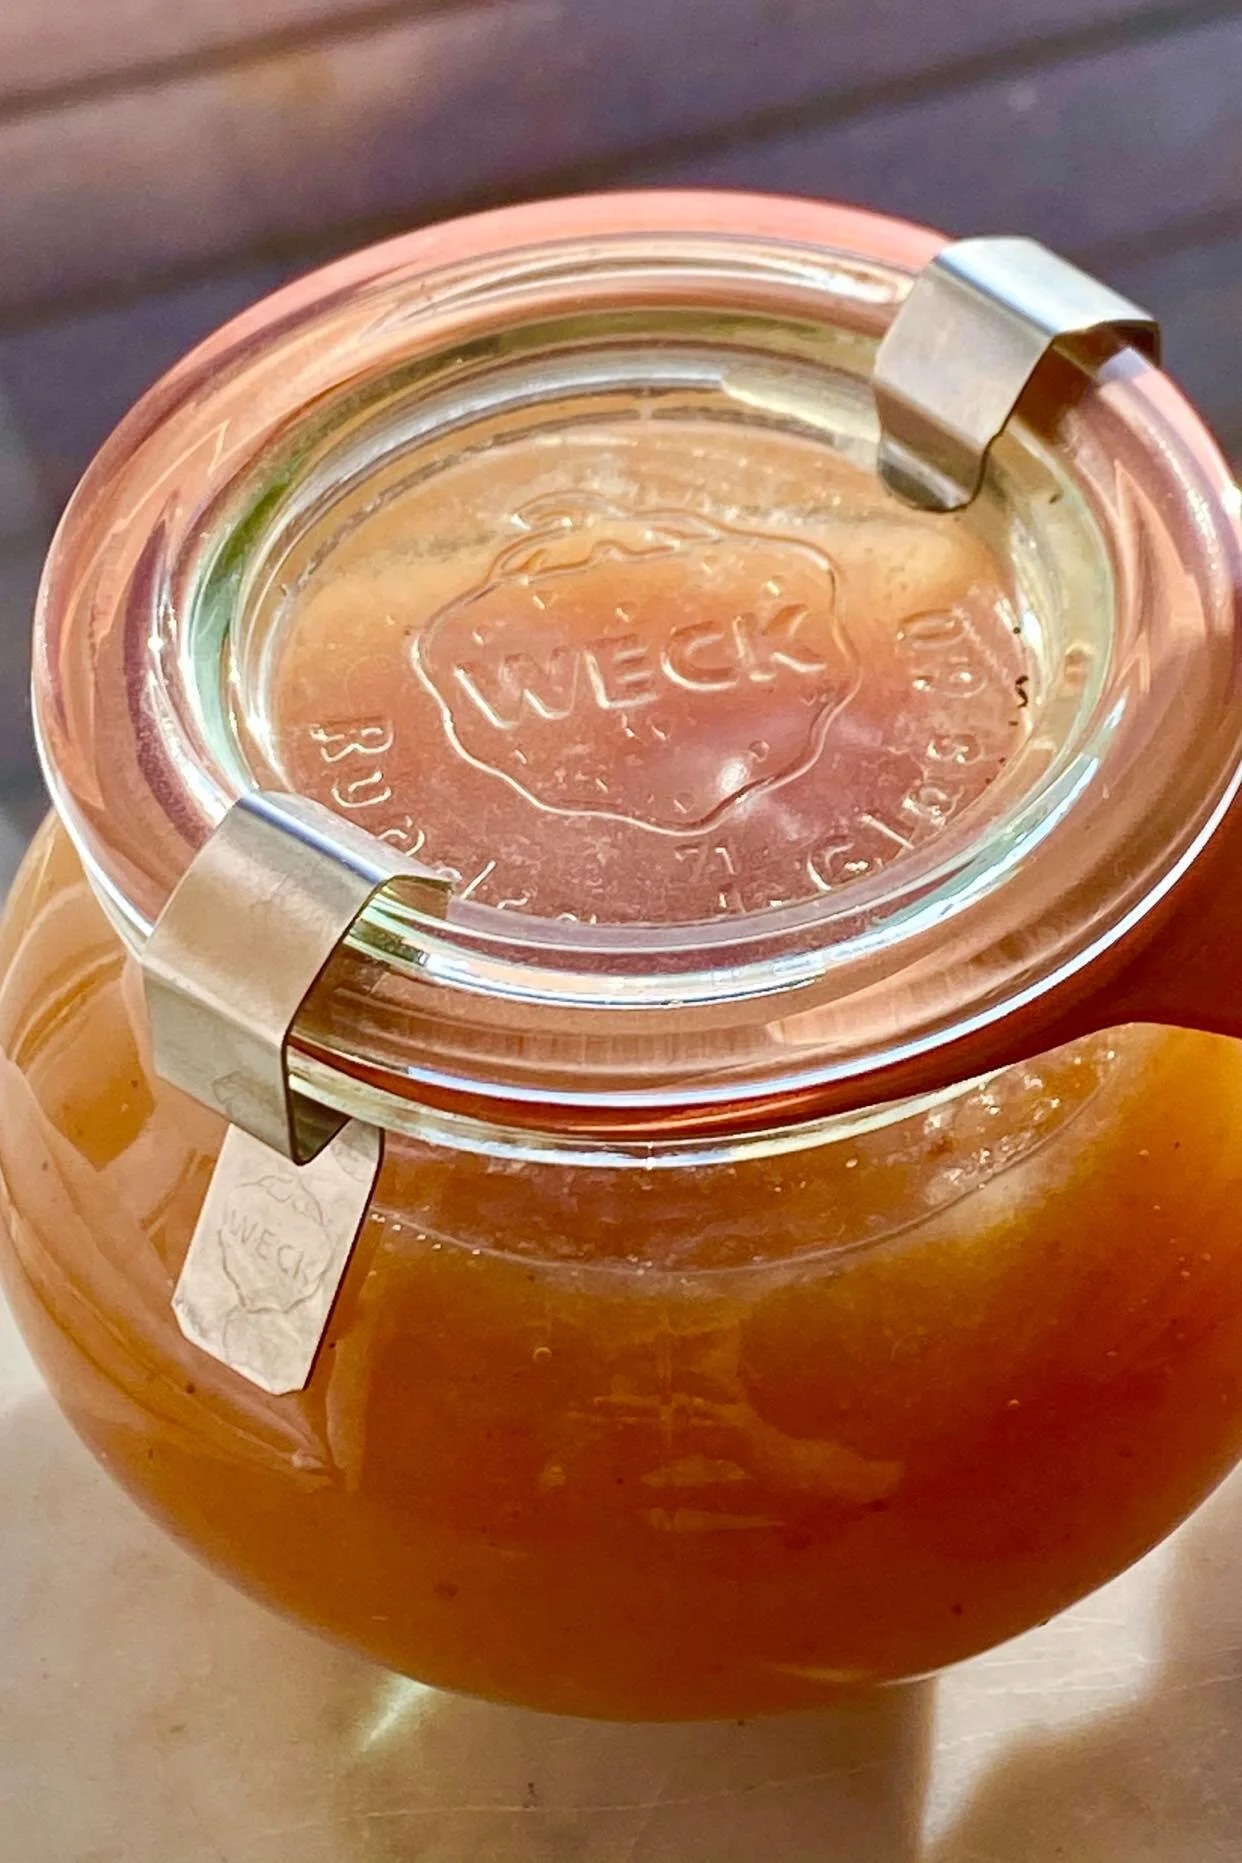
Aren’t these Weck canning jars gorgeous, little gems? I just love using this style of jar for canning.
And that’s it for this week’s blog. Have you made pear butter before? Did you try this process? I would love to hear more about it below. And if you are interested in learning to live more of a seasonal, holistic lifestyle that includes things like home preservation, I invite you to join us in the Rewild + Untame Community.
Not quiet ready for an exclusive cohort?
Join us in the Rewild and Untame community, where you become the priestess of your own body-temple, huntress of your own truth. Where ancient devotion meets modern science.
Build your Home Apothecary 101
Get your FREE Class
Toss your email in the blanks and receive this empowering course in your inbox in seconds.
Erin Oberlander, Certified Holistic Aromatherapist, herbalist, holistic health expert, and sound practitioner
Live a holistic lifestyle with ease. Erin Oberlander is a Doctor of Musical Arts, a Certified Holistic Aromatherapist, herbalist, holistic health expert, sound practitioner, and permaculturalist . She has been working with essential oils, herbs, and other healing arts, on a regular basis for the past 20 years as owner of her company Prairie Soap House & Apothecary. She helps others live healthier lives through connection with Nature, themselves, and the Divine. Check out all of the course offerings at Arcadia Holistic School or get yourself an online sound bath & holistic hacks subscription with Arcadia Members Collective.